
How standby generator installation works, step by step
By Amara Okafor · Updated 2026-06-25
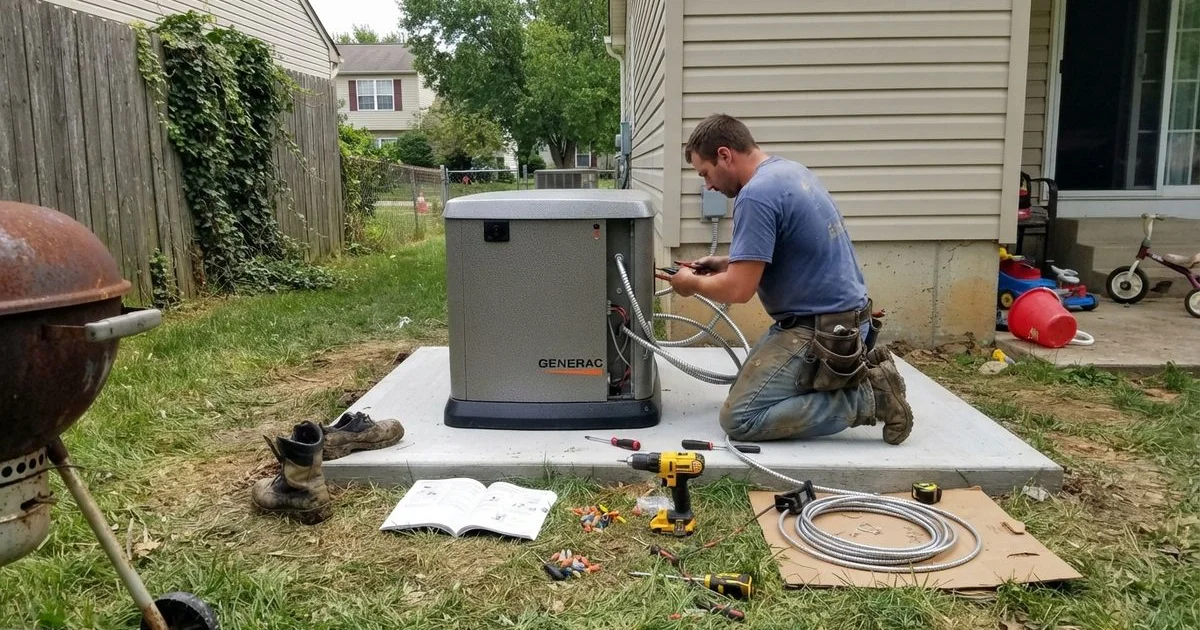
A whole-home standby generator is one of the bigger electrical projects a homeowner takes on, and it involves more coordination than most people expect: an electrician, sometimes a gas line contractor, a permit, and a utility inspection all have to line up. Here’s the sequence.
Step 1: sizing the generator to your home
Before anything gets installed, an electrician calculates your home’s actual load. This depends on square footage and, more importantly, what you want covered during an outage: just essential circuits like the fridge, sump pump, and a few lights, most of the home, or everything including central air. A generator sized for essentials only is a fraction of the cost of one sized to run a whole home with HVAC.
Step 2: site placement and gas line assessment
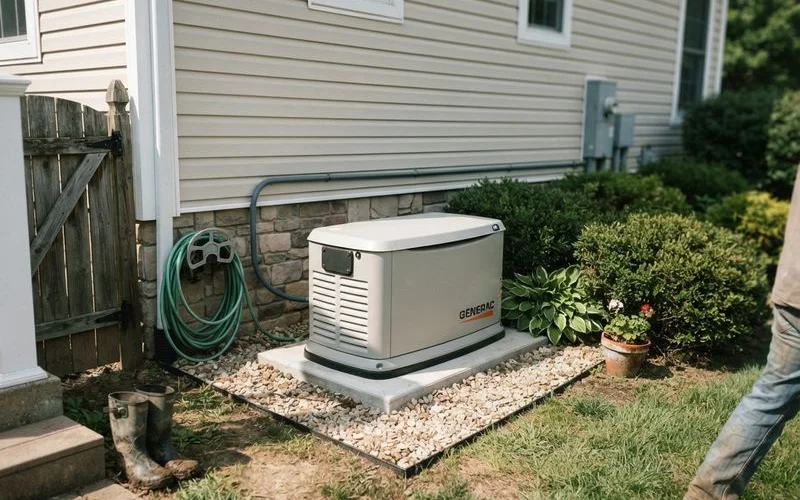
The generator unit sits outside on a concrete pad, typically near the gas meter and electrical service, with required clearances from windows, doors, and property lines per local code. If you don’t already have gas service sized for the generator, this is where a gas line contractor gets looped in, since most standby units run on natural gas or propane rather than gasoline.
Step 3: permitting
Standby generator installation requires an electrical permit, and often a separate gas permit if new gas line work is involved. This step happens before installation and can take several days to process, so it’s worth starting early if you’re targeting a specific timeline, like before storm season.
Step 4: the electrical and mechanical installation
This is the multi-part work: setting the pad and unit, running the gas line, wiring the generator to your panel, and installing an automatic transfer switch. The transfer switch is what makes the whole system work safely. It disconnects your home from utility power the moment an outage is detected, connects you to the generator, and switches back automatically once utility power is restored. This prevents backfeeding power into utility lines, which is both a code violation and a real danger to utility workers.
| Stage | What’s involved | Who’s typically on-site |
|---|---|---|
| Sizing | Load calculation based on home size and coverage needs | Electrician |
| Gas line (if needed) | New or upsized gas line to the unit | Gas contractor, sometimes coordinated by the electrician |
| Pad and unit placement | Concrete pad, clearances from structures | Electrician or installation crew |
| Wiring and transfer switch | Panel connection, automatic transfer switch install | Licensed electrician |
| Inspection | Utility and code inspection before activation | County/city inspector, utility representative |
Step 5: testing and inspection
Once installed, the electrician tests the transfer switch and runs the generator through a simulated outage to confirm it powers the intended circuits. A local inspector reviews the installation for code compliance, and depending on your utility, a representative may also need to inspect the connection point before the system is cleared for full use.
What determines your timeline
Homeowners often underestimate how much the gas line and permit steps add to the calendar versus the actual installation day. If you’re planning ahead of a specific season, start the sizing and permitting process a month or more out. Reviewers of local generator installers consistently mention electricians who manage the full process, permits, inspections, and gas coordination included, as the ones worth the higher price over a company that only handles the wiring.
Once it’s installed, don’t forget the maintenance
A standby generator that’s installed correctly still needs periodic servicing to work when you actually need it. Most units run a short self-test automatically on a schedule, cycling the engine briefly to confirm it starts. Beyond that automatic check, plan on an annual service visit to change oil and filters and confirm the whole system, including the transfer switch, is functioning. A generator that’s sat unused between outages is the most common source of failure right when it matters most, so treat servicing as part of the ownership cost, not an optional extra.
If you want a rough sense of what size generator your home needs, this directory has a free sizing calculator on its tools page that factors in square footage, HVAC, and how much of the home you want covered. To compare local installers, see the generator installation category, and check the methodology behind how providers are scored. Start browsing from the home page if you’re weighing generator installation against other electrical priorities.
Questions people ask
- How long does a standby generator installation take?
- The physical installation usually takes one to two days, but the full timeline including permits, gas line coordination if needed, and utility inspection can stretch to two to four weeks depending on scheduling.
- Do I need a gas line for a standby generator?
- Most whole-home standby generators run on natural gas or propane rather than gasoline. If you don't already have a gas line sized for the generator, running one is a separate step that adds time and cost to the project.
- What's a transfer switch and why do I need one?
- A transfer switch automatically disconnects your home from utility power and connects it to the generator during an outage, then switches back once utility power returns. It's a code requirement, not an optional add-on, because it prevents your generator from feeding power back into utility lines.
- Can I install a standby generator myself?
- No. Standby generator installation involves gas line work, electrical connections at your panel, and a transfer switch, all of which require a licensed electrician and typically a permit with inspection. This isn't a DIY project.
Related on this site
- Browse generator installation providers
- Standby generator safety: carbon monoxide risk and code requirements
- Getting your home ready for storm season: generator and electrical prep
- What to expect during an electrical panel upgrade
- What to expect when you hire a commercial electrical contractor
- All guides →